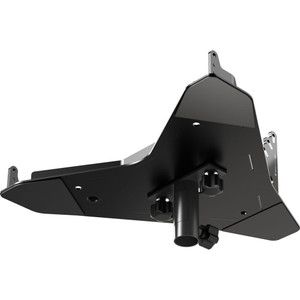
Shure A900W-R-PM Pole Mount Kit With White Cover
ShurePricing available upon request
The Shure A900-R-PM is a pole mount kit with a white mount cover that allows the MXA920-R conference microphone to be suspended from the ceiling using an NPT pole with a 1.5" diameter (available separately). When paired with the NPT pole of the appropriate length, the kit provides an attractive free-floating mounting solution for a neat and professional look. A VESA mount, screws, and an Allen wrench are provided.
To get started, you will need:
- A900-PM kit
- 1.5 in. diameter threaded NPT pole*
- Must include cable exit
- Adjustable extension poles with a larger bottom diameter may not fit the round pole mount cover
- Ethernet cable*
*Not included
- Install the Peerless ceiling plate according to the included instructions.
- Route the Ethernet cable through the ceiling plate and the pole. Thread the pole onto the ceiling plate.

- Thread the VESA bracket onto the pole.

- Partially thread the thumb screws into the microphone.

- Lift the microphone and align the thumb screws with the holes in the VESA bracket. Tighten the thumb screws to secure the microphone to the VESA bracket.
Important: Before tightening, make sure that the thumb screws are properly seated in the VESA bracket.
When installing on short poles, it's easiest to check alignment from the side with the enclosed keyholes.

- Rotate the microphone to your preferred position. Tighten the VESA bracket's set screw with the Allen key to lock the position.

- Connect the Ethernet cable to the microphone.

- Round microphones: Before attaching the pole mount cover, use the Allen key to loosen and remove the installed eyelet screws.
Snap together the 2 halves of the pole mount cover around the pole. Attach the pole mount cover to the microphone. The cover's 4 clips snap into the 4 square holes on the microphone.
Tip: To remove the cover, insert a credit card at the embossed triangles to release the clips.

What's Included
- Pole mount cover (black or white)
- VESA bracket and set screw
- Thumb screws (4)
- Allen key (M4)
- Peerless ACC560 ceiling plate and mounting hardware

- Product Type:
- Video Conferencing


